Your cart
Close Alternative Icon
New scarves!

News

NEW BOOK!

My new book is out!

"The Opposite is Also True: A Journal of Creative Wisdom for Artists" is available wherever books are sold or –

Buy it on Amazon

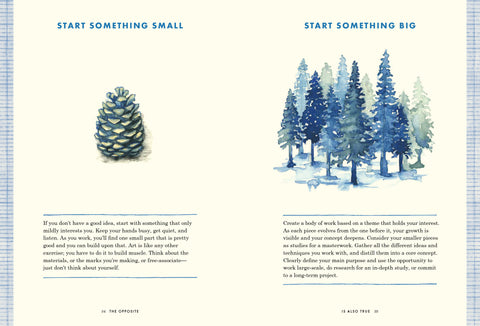
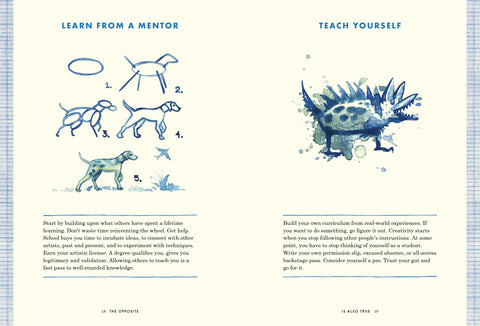
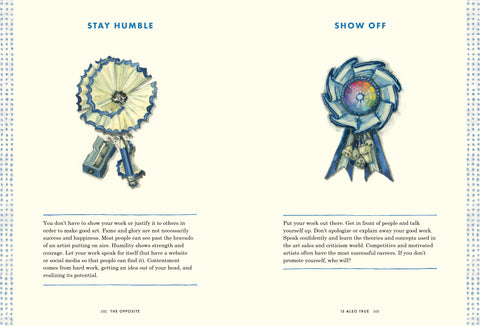
It is a collection of artist's wisdom that is organized in pairs of opposites. Every other page is a journal prompt to help you figure out which advice is best for you.

Continue reading

Illustration Class

I'm teaching an illustration class at California College of the Arts (CCA) Extension starting July 16th 2018. There are still spots available. I'll go over my color mixing technique, that is a little like paint-by-numbers, as well as how to find and use reference material, combining multiple images, and sketching and gouache techniques. Check out the catalog here https://www.cca.edu/academics/extension/courses/fine-arts#illustration

Continue reading

cover reveal

This is what I've been working on and the reason for all the silence lately. Release date October 2nd!

Continue reading

CreativeLive

Here's a little behind the scenes from my drawing and painting classes at CreativeLive.  

I met Lara McCormick who was Head of Design Education at CreativeLive and we talked about art and old times at Berkeley High School. She assigned me a content producer, Erin Persley. It was Erin's job to wring as much information about drawing and painting out of me as I could possibly say in our eight-hour day of shooting. We created a show flow, materials list, course graphics, and bonus material. I also made some backdrops to decorate my set.


I couldn't get through my introduction during the practice sessions but to my relief, when I had the live audience in front of me, I did it without messing up. My host Robert Mahar was such a big help and calmed my nerves.


I started off tracing around objects.

sketching

Later we traced pictures off an iPad and refined line quality.


In the color class I showed how to work with gouache. 

Then I printed some images on products with Society6 and displayed others.

It was the most intense day ever but I would do it again in a heartbeat.

Continue reading

Holiday Preparation

 Holiday preparation begins today. My new Tiny Art can be hung in a gallery grouping, on a tree, or used as a gift topper. I had a few samples at Renegade SF and they got a lot of attention.


I'm also working on a series of Menu Posters. Here's the first one – more to come


Continue reading

The 100 Day Project

This is a stack of 100 freshly washed handkerchiefs.

and here they are ironed and ready for painting.  I'm doing the #the100dayproject so every day I'll be posting a new painting on a handkerchief on my instagram.  I'm starting out by taking inspiration from my collection of security envelopes.

It's been 5 days so far and I'm already starting to venture pretty far from the inspiration.  I can't wait to see where I go.

#1

#2

#3

#4

#5


Continue reading

About My Process


This is my old press.  I don't use it much anymore.  When I was in college studying printmaking it was this way or the photocopier.

This is my new press.  Lately there has been a lot of discussion about what constitutes "hand made." So I thought I'd show some of the tools and techniques that I use to make things. 

Most of my work starts with a painting.  Here is one of my recent landscapes, my gouache, and some favorite tools.  I also used my computer to view some pictures of Muir Beach and Muir Woods. The redwoods don't really come to the edge of the water, but now they do. The more I paint, the more I appreciate basic tools and techniques and simple paintings that aren't trying too hard.

It may seem like a contradiction that I like the old simple things and use a new inkjet printer, but it's all in the process.  It used to be that the folks who used the press in the top picture were considered graphic designers and the "fine artists" were the painters.  In fact my press came from a clothing store and was used to make signs that were thrown away as soon as the sale was over. Now, because of the invention of that printer in the middle picture, things seem to have flip flopped.

 The process is basically the same for most creative pursuits: get an idea, make a big mess, then tidy things up because they never end up looking just like the original vision in your head. In painting, the messy part of figuring out colors, textures, layers, and the push and pull of space and focus comes before the duplicating process.  In printmaking it happens right in the middle. But then, if I spit 100 prints out of my inkjet printer, they would be considered to be of a lesser value then the numbered edition of hand pulled prints. I'm ok with that.

The goal of my new line of paper products is to hand-make gifts with the look of fine art paintings for when the occasion calls for more than a card, but less than an original. And to add a high level of craftsmanship that people want to keep around long after the occasion.

I often mount my paintings of wood. Which means I draw a cutting outline in AI and laser-cut it. They come out covered with tape and smelling like a barbecue. All the sooty edges need to be cleaned.

Then I put on some reading glasses and hand-cut all the tiny painted shapes that I have printed.  I make and stamp tags, string everything together, and tie lots and lots of knots before packaging it.

Sometimes I use a paper cutter instead of the tiny scissors.  It makes a great noise.

Sometimes I use a mat knife to cut wood veneer or paperboard.  Everything needs to be hand-glued.

And then they spend the night in another kind of press.

I designed the bases for the book boxes and had them made here in California out of recycled chip board. Then I cut and glue the covers myself.

I try to keep all the little bits organized in my vintage mail sorting station, but I won't pretend it looks this tidy all the time.

Can't wait to show you more. I hope you like to look at it as much as I like to make it.

Continue reading

Spring Birds and Bees Tassels

I have three new birds and bees ornaments in my shop. To celebrate spring, I designed this Tassel DIY to go along with them. Here in California, we didn't get a single day of rain in January, so it's hard to tell what season it is. But they're fun to make and decorate anytime.


And the ornaments make lovely valentines gift wrap.


There are three different sets of birds and bees.

To make the two larger tassels you'll need

SUPPLIES: A 12" x 12" piece of mulberry or other fibrous "rice" paper that holds up when wet, twine,  Elmers glue, and a cup of water.

 1. Fold the paper in half. Crease 1" down from the folded side. Cut into two pieces and cut fringe.


 Open each piece and roll it up.

 Twist the center to tighten it up a little. Tie the twine on one end and then wrap it around the center for two inches.

Fold the tassel in half and wrap a little more at the base of the loop. Tie it off.

 Mix about two TBS of glue with one cup water, stir well.

 Give the tassel a dip.

Here's the labor intensive part –  separate all the fringe and twist each piece between your fingers. Hang it up to dry then tie on any ornament.

Here is another slightly more complicated version that I made with the evil eye charms. 


Continue reading